Install the solenoid valve
-
Align the top corner tabs of the solenoid valve assembly to the slots in the
center panel.
Hold the valve at approximately a 45° angle.
- Push the top corner tabs into the center panel slots, then rotate the bottom of the valve assembly down until it snaps into place.
- Route the wires behind the plastic clip and through the center panel pass-through.
-
Plug the solenoid valve connector into J8 on the power Printed Circuit Board (PCB).
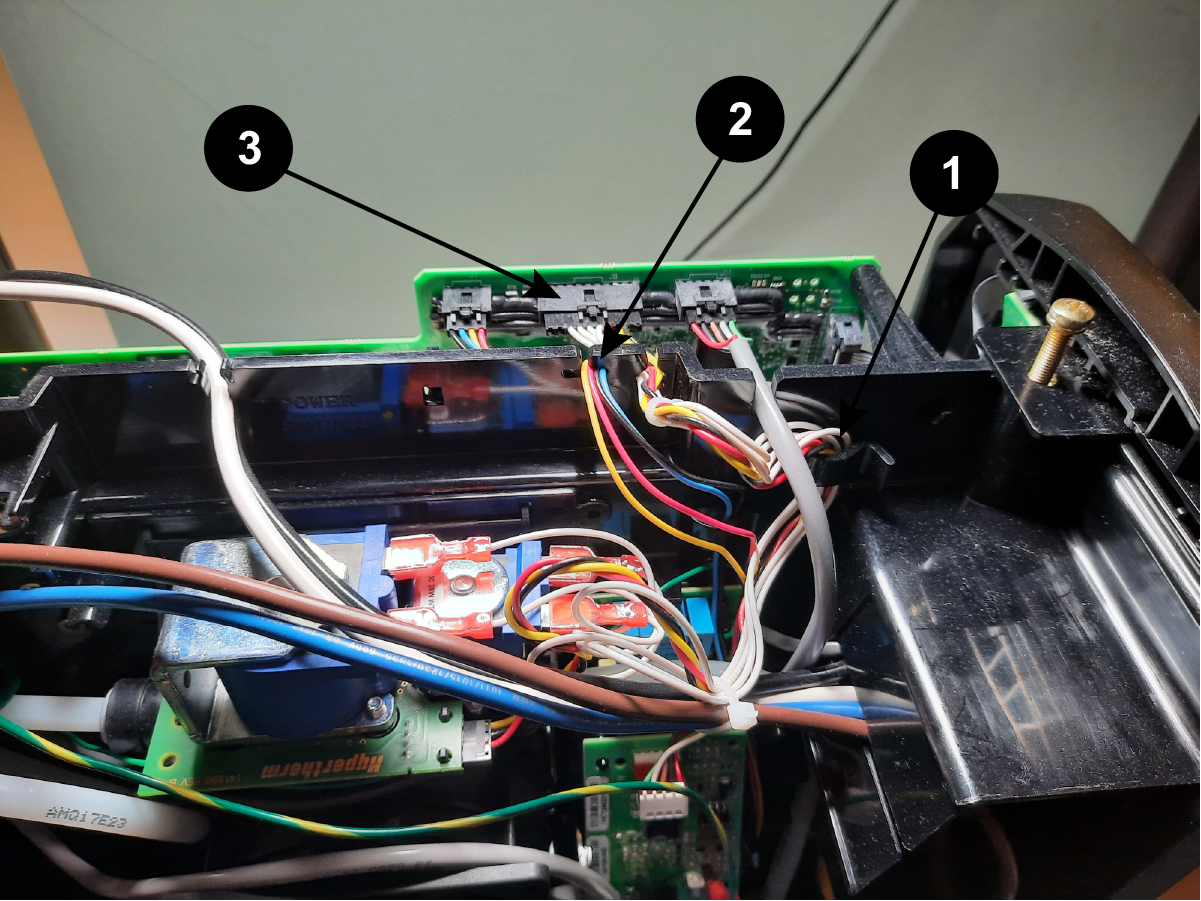
1 Plastic clip 2 Wire pass-through 3 J8 solenoid valve connector -
Make sure the wire connections on the valve are secure.
The wire length should allow easy routing to the power PCB and should not be taut.
-
Push-to-connect the 2 gas supply hoses to the solenoid valve assembly.
Insert each gas supply hose so the marked line reaches the connector. See Install the gas supply hoses and 90 degree fitting.
If you are replacing the hoses, connect the new hoses to the air filter assembly and to the 90° fitting. Make sure the gas supply hose from the air filter assembly has a looped shape and is not kinked or cracked. See Remove the gas supply hoses and 90 degree fitting.
Note:If a gas supply hose is kinked, discard it and replace it with a new hose. The integrity of the hose is compromised once the hose is kinked.
-
Complete the following procedures:
- Install the fan and fan shroud.
- Install the plasma power supply cover and handle.
- Reconnect the gas supply.
- Reconnect the power cord.
